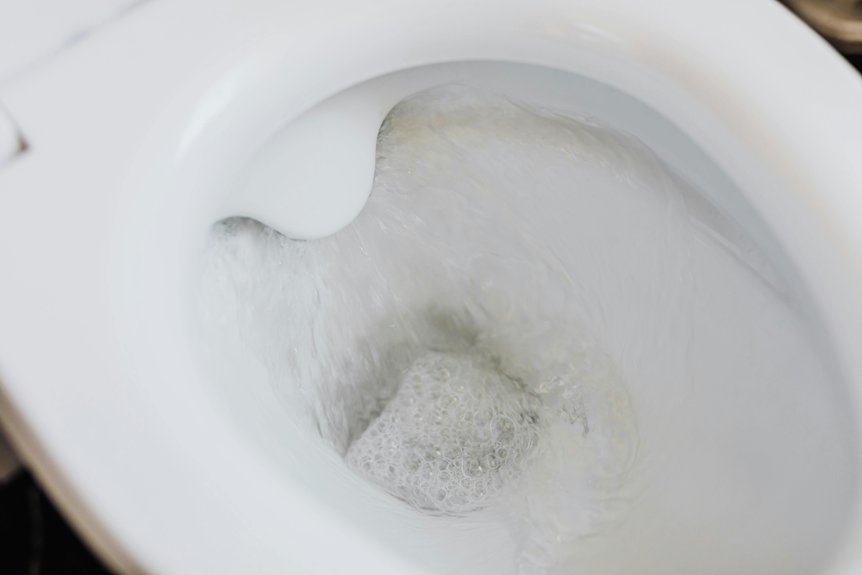
When your toilet overflows, it’s crucial to act fast to minimize damage. First, lift the tank lid and push down the flapper valve to stop water flow. Next, turn off the water supply at the shut-off valve behind the toilet. As you manage the overflow with towels or a bucket, you might start wondering what caused this issue in the first place. Understanding the common causes can help you prevent future floods. Let’s explore those next.
Understanding the Common Causes of Toilet Overflows
When you understand the common causes of toilet overflows, you can take steps to prevent them.
First, check the flapper valve; if it’s damaged or not sealing properly, it can cause constant water flow.
Next, inspect the fill valve; a malfunction here can lead to excessive water levels.
Blockages in the toilet or drain line are another major culprit—use a plunger to clear any clogs.
Additionally, avoid flushing items like wipes or feminine products, as these can easily cause backups.
Lastly, ensure the toilet tank isn’t overfilling by adjusting the float arm.
Immediate Steps to Take When Your Toilet Overflows
If you notice your toilet overflowing, act quickly to minimize damage and restore order.
First, locate the toilet tank lid and lift it off. Reach inside and push down the flapper valve to stop water from flowing into the bowl.
Next, turn off the water supply by twisting the shut-off valve, usually found behind the toilet.
If water’s still rising, grab towels or a bucket to catch the overflow and protect your floor.
Once the water’s under control, you can flush away any debris or clogs.
Finally, check for any visible blockages in the toilet bowl or drain. If needed, you can clear these out once the immediate crisis is resolved.
How to Use a Plunger Effectively
After you’ve managed the initial overflow, it’s time to tackle any stubborn clogs that might be causing the issue.
Start by grabbing your plunger—make sure it’s a flange type for toilets. Position the plunger over the drain hole, ensuring a tight seal. Push down slowly to release air, then pull up sharply to create suction.
Repeat this motion vigorously for about 15-20 seconds. If water begins to drain, keep plunging until it flows freely.
If the clog persists, try adding hot water to the bowl, then plunge again. Rinse the plunger in clean water after use.
The Role of the Toilet Flapper in Preventing Overflows
Understanding the role of the toilet flapper is crucial for preventing overflow issues. The flapper controls the flow of water from the tank to the bowl when you flush. If it’s worn or misaligned, it won’t seal properly, causing water to continuously flow into the bowl, which can lead to an overflow.
To check your flapper, lift the tank lid and inspect it for wear or mineral buildup. If it looks damaged, replace it. Simply disconnect the chain, unhook the old flapper, and attach a new one.
Adjust the chain length, ensuring it allows the flapper to close fully after flushing. Regularly inspecting and maintaining your flapper will help keep your toilet functioning properly and prevent unwanted overflows.
Checking the Fill Valve and Water Level
To prevent your toilet from overflowing, it’s essential to check the fill valve and the water level in the tank.
First, remove the tank lid and look inside. Locate the fill valve, which is usually on the left side. Ensure it’s functioning properly; if it’s stuck or leaks, it may need replacement.
Next, check the water level. The water should be about an inch below the overflow tube. If it’s too high, adjust the float arm or the screw on the fill valve to lower it.
Turn the water supply back on and observe the tank filling. If everything looks good, replace the lid and flush the toilet to ensure it operates correctly.
Regular checks can save you from future issues.
Identifying Clogs and Blockages
Clogs and blockages are often the main culprits behind a toilet overflow. Start by checking the toilet bowl for signs of obstruction. If water doesn’t drain properly, it’s likely blocked. Use a flashlight to inspect the trapway for visible items like toilet paper or hygiene products.
If you can’t see anything, try flushing the toilet again to see if the water rises.
Next, grab a plunger. Position it over the drain, ensuring a good seal, and push down firmly, then pull up quickly. Repeat this several times.
If that doesn’t work, consider using a toilet auger to break up deeper blockages. Remember, don’t flush again until you’ve cleared the blockage to prevent an overflow!
Tools You Might Need for DIY Repairs
After addressing any clogs or blockages, you’ll want to gather the right tools for any DIY repairs.
Start with a plunger; it’s essential for clearing stubborn clogs. Next, grab a toilet auger to reach deeper blockages. You’ll also need a wrench for tightening or loosening any tank bolts.
Don’t forget a bucket to catch excess water and a sponge for cleanup. A pair of rubber gloves will keep your hands clean, and a flashlight can help you see inside tight spaces.
Finally, have some towels handy for any spills. With these tools in hand, you’ll be ready to tackle any toilet issues and keep your bathroom dry and functional.
Long-term Maintenance Tips for Your Toilet
While you mightn’t think about it often, maintaining your toilet can prevent costly repairs down the line.
Start by checking the flapper valve monthly; if it’s worn, replace it to stop leaks. Next, inspect the tank for any rust or corrosion, which can lead to bigger issues.
Clean the bowl regularly with a toilet brush and a gentle cleaner to prevent buildup.
Every six months, add a few drops of food coloring to the tank; if it seeps into the bowl, you’ve got a leak.
Lastly, ensure the water level’s about an inch below the overflow tube to prevent overflowing.
When to Call a Professional Plumber
Even with regular maintenance, there are times when your toilet might still act up, signaling that it’s time to bring in a professional plumber.
If you’ve tried plunging and the water still won’t go down, it’s a sign of a deeper blockage.
Next, if you notice continuous running or strange noises after flushing, it could indicate a malfunctioning fill valve.
Don’t overlook persistent leaks around the base; they can lead to bigger issues.
Lastly, if your toilet overflows repeatedly despite your best efforts, it’s time to call in an expert.
Professional plumbers have the tools and experience to diagnose and fix problems that DIY solutions can’t handle.
Trust their expertise to restore your toilet’s functionality.
Preventative Measures to Avoid Future Overflows
To prevent your toilet from overflowing in the future, start with regular inspections of the components inside the tank.
Check the flapper for wear and ensure it seals properly. If it’s old or damaged, replace it. Next, examine the fill valve; it should function quietly and fill the tank to the correct level. Adjust the float arm if necessary to prevent overflow.
Also, keep the toilet bowl free of foreign objects and excessive toilet paper, which can cause clogs.
Consider using enzyme-based cleaners monthly to break down buildup. Lastly, if you notice any slow drainage, address it immediately with a plunger or a toilet auger to prevent future issues.
Regular maintenance will go a long way in avoiding floods.
Conclusion
By following these steps, you can tackle a toilet overflow with confidence. Remember to act fast by stopping the water flow and using a plunger if needed. Regular maintenance, like checking the flapper and water level, can save you from future headaches. If the problem persists, don’t hesitate to call a professional plumber. With a little care and attention, you can keep your toilet functioning smoothly and avoid those unexpected floods!